|
|
Our sprouting gardeners have been very interested in all things plant, so we decided to let them do their very own project. We have a large bin full of recyclable things everything from tin cans, used juice jugs, and even old condiment bottles so we went with soda bottles! Materials Needed: Seeds Empty and clean 2 liter soda bottle(s) Dirt Hay/straw Lava rocks (or any type of rock but is not required) To start you will want to use the label as a guide to cut the top portion of the bottle off and be sure to clean it well after removing the label. Its also important to note that while cutting the bottles they can cut you so be careful or wear gloves. Once you have the bottles cut we are ready to move on to step two. 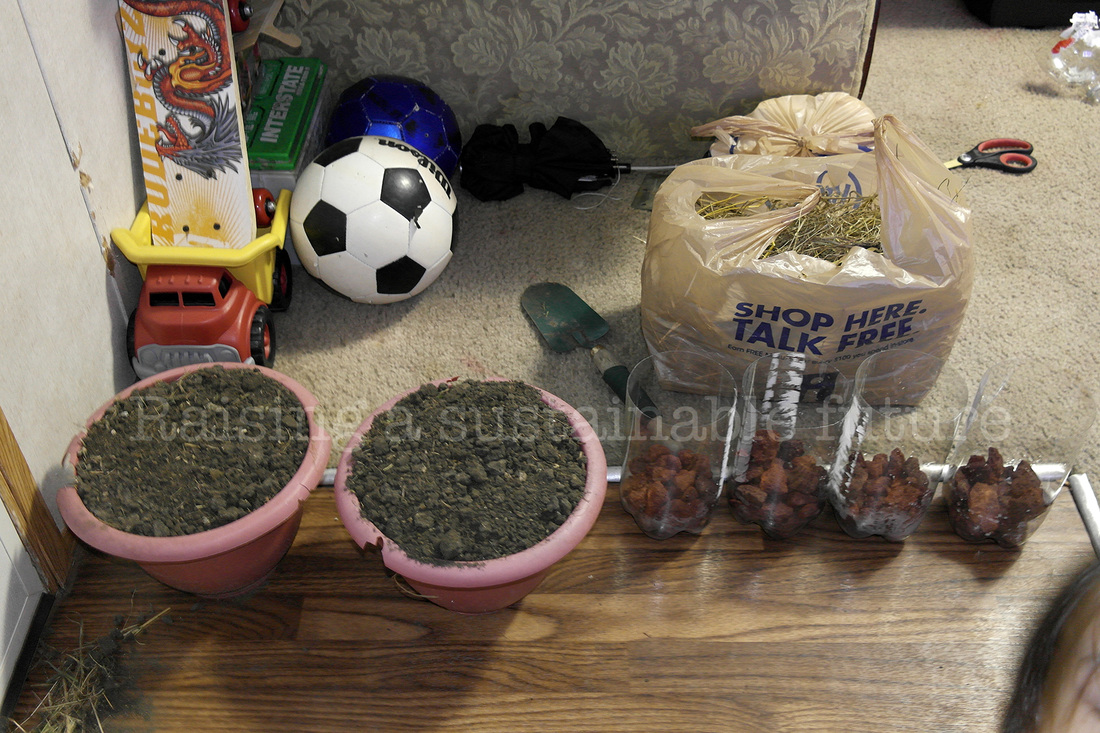 Here we want to add a layer of lava rocks as they are good at absorbing water and warmth in case of those cold nights. Lava rocks will also help with keeping a good area for water to gather so if you forget to water it for a few days, the little plant won't die as the water that evaporates will go back up towards the plant. After we have added the lava rock layer we then added hay/straw, and finally dirt. The hay/straw level helps holds moisture, keeping your soil moist longer. This creates a unique environment that has unique capabilities depending on your climate. 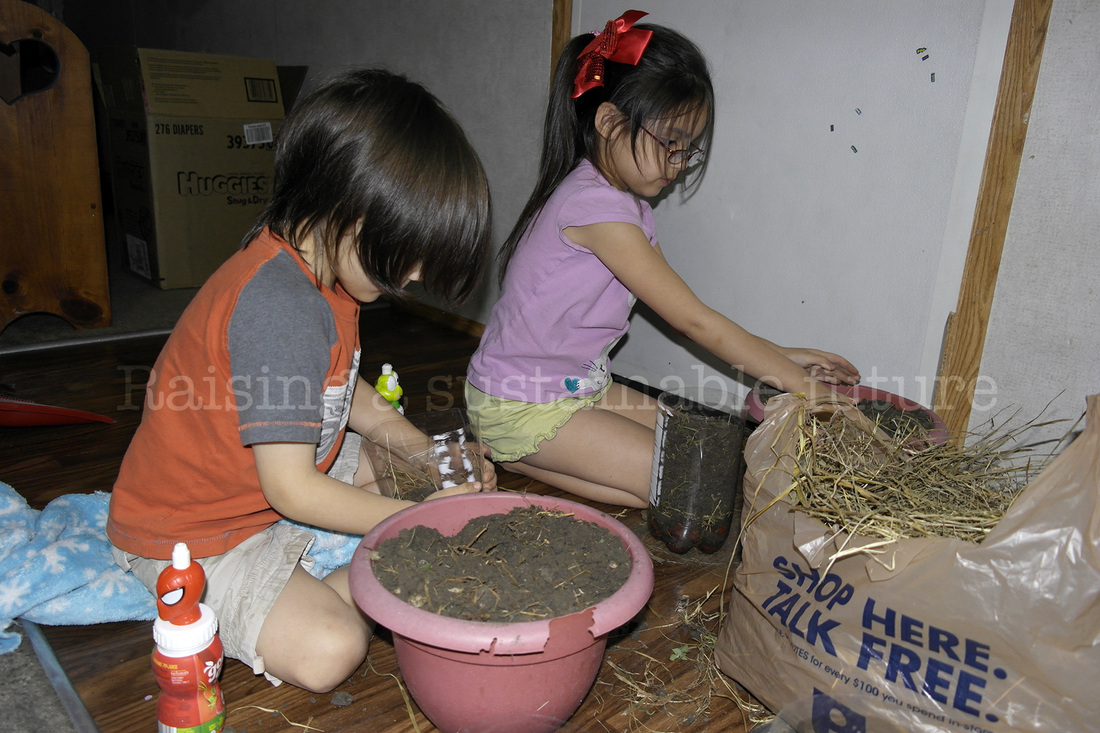 Finally we are going to plant the seeds, add the next layer of soil and add water. We also decided to write the date on the containers as well as what each one was. 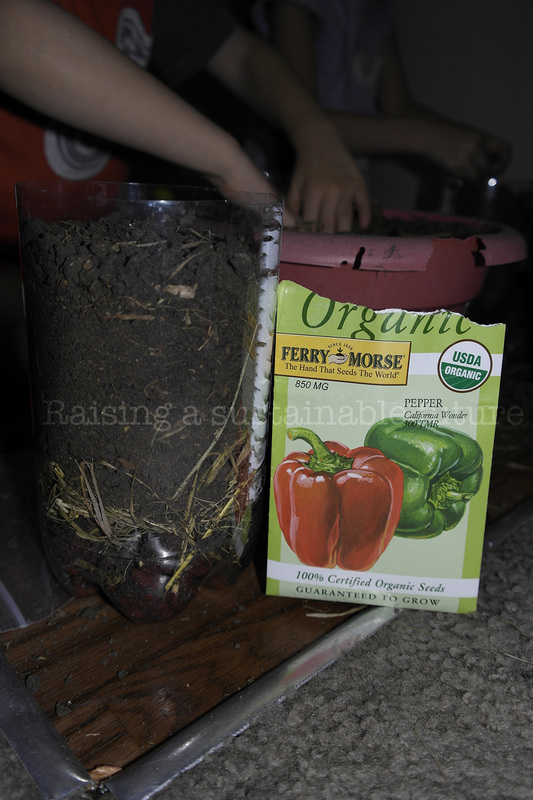 We did Broccoli, cilantro, garlic, and bell pepper. 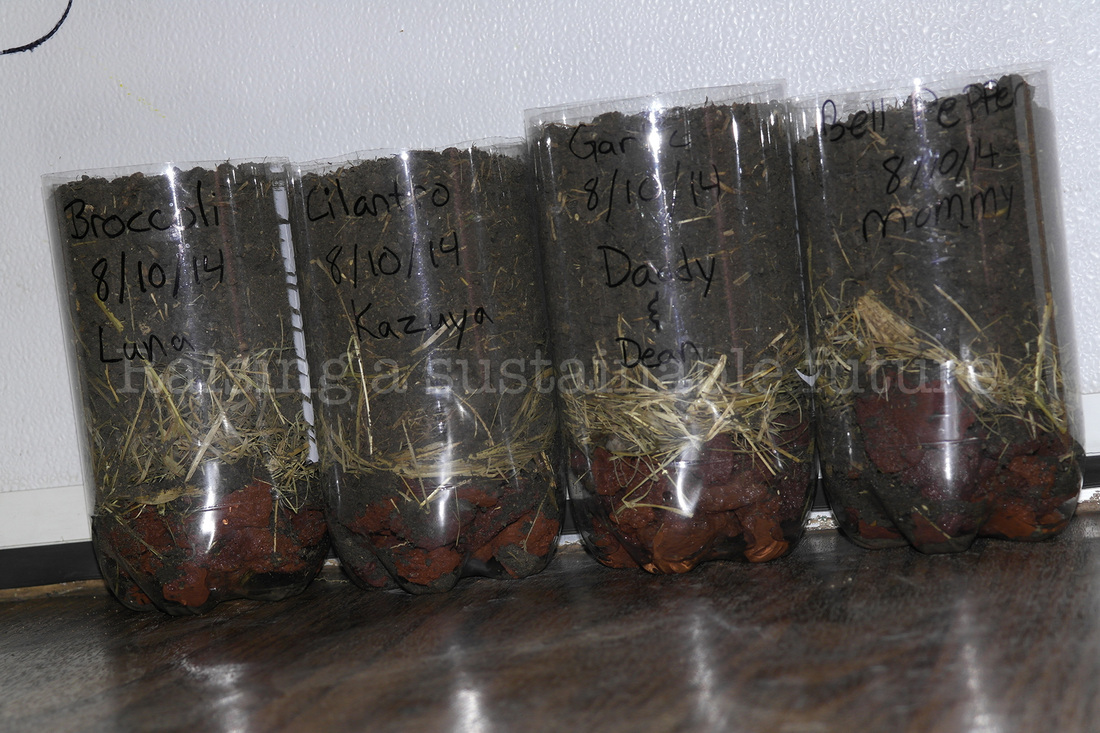 Below we have our broccoli babies already starting after a couple of days! More yummy food on the way!!!! 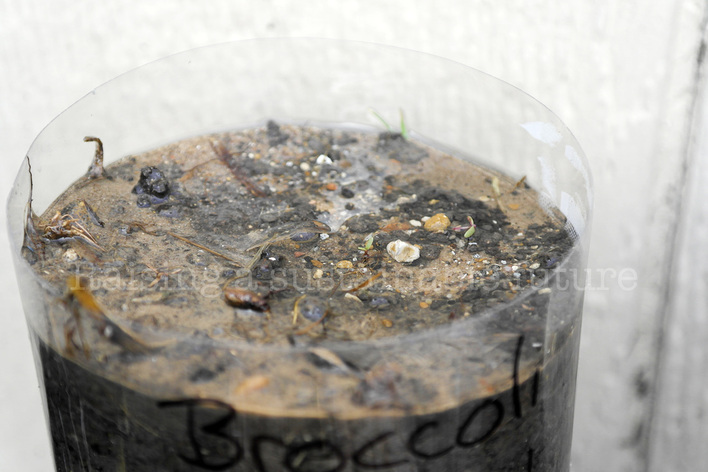 Join us next time for the rest of our porch garden projects. Till then, keep raising a sustainable future!
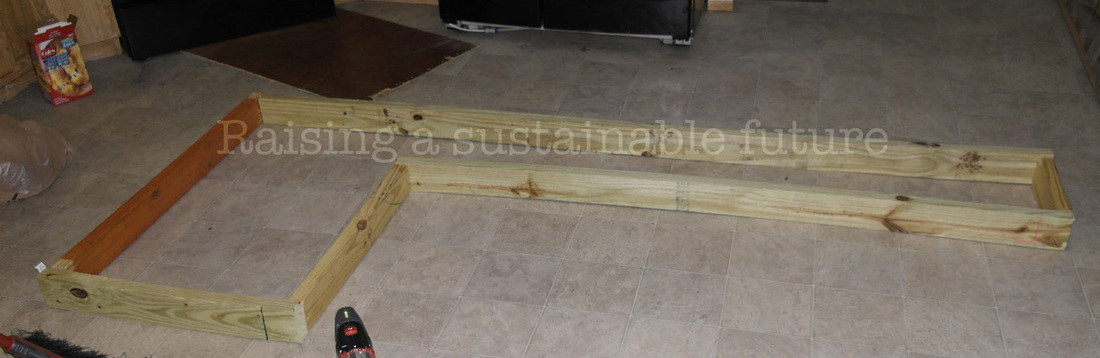
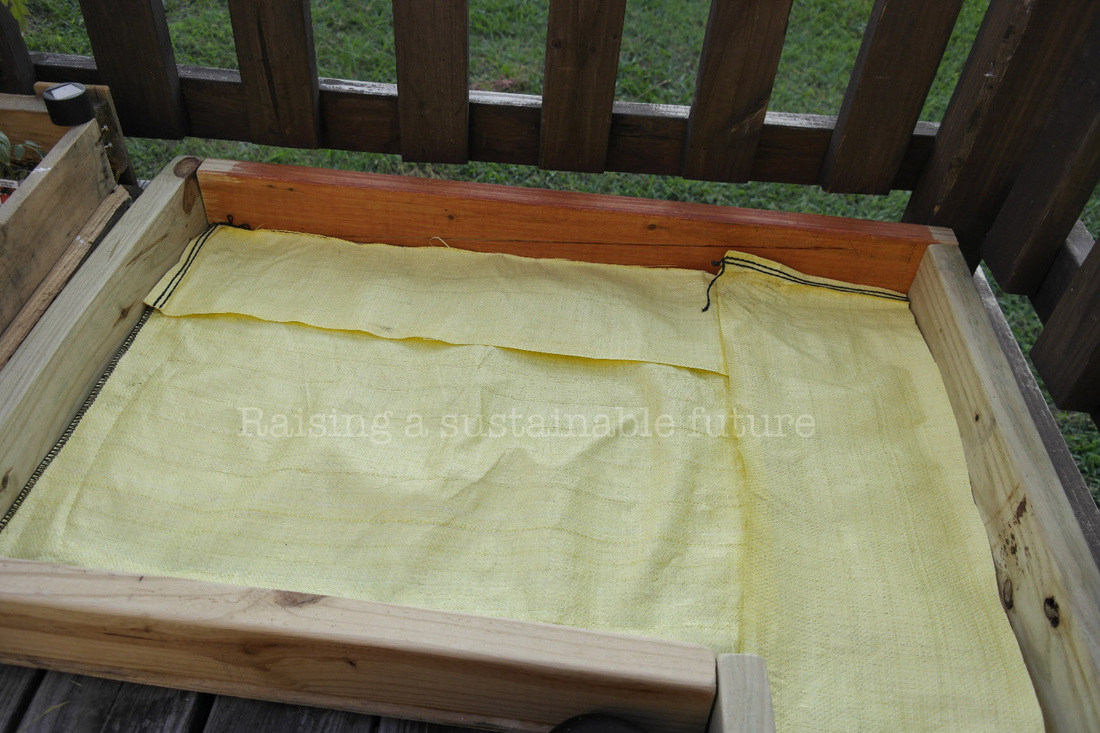
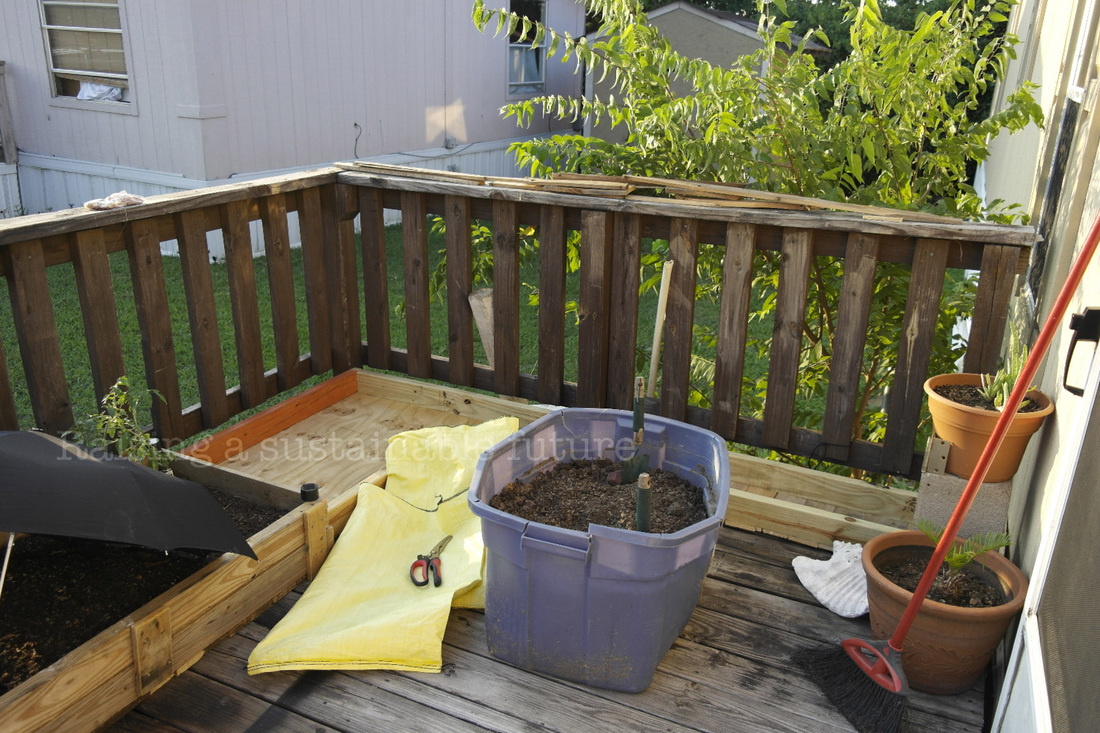
Get ready for the garden that looks like something that would come straight from the world of the walking dead! After spending days searching for pallets we were finally able to get a hold of some. I was amazed how hard it was to get a hold of any at all, many places send them back to the companies that sent it to them, or simply do not give them to the public. We started with the largest pallet we received and cut it in half as it was going to go on the porch, but we didn't want it to take up the majority of the porch. For this reason half of the pallet is ideal as is gives enough room to put 3 rows while still being a space saver. Materials needed: Pallet(s) Hammer Circular saw or jigsaw Screws (only if you dont want to recycle some of the nails already in the pallet) Something like a pry bar or something you can use to pry the boards off. 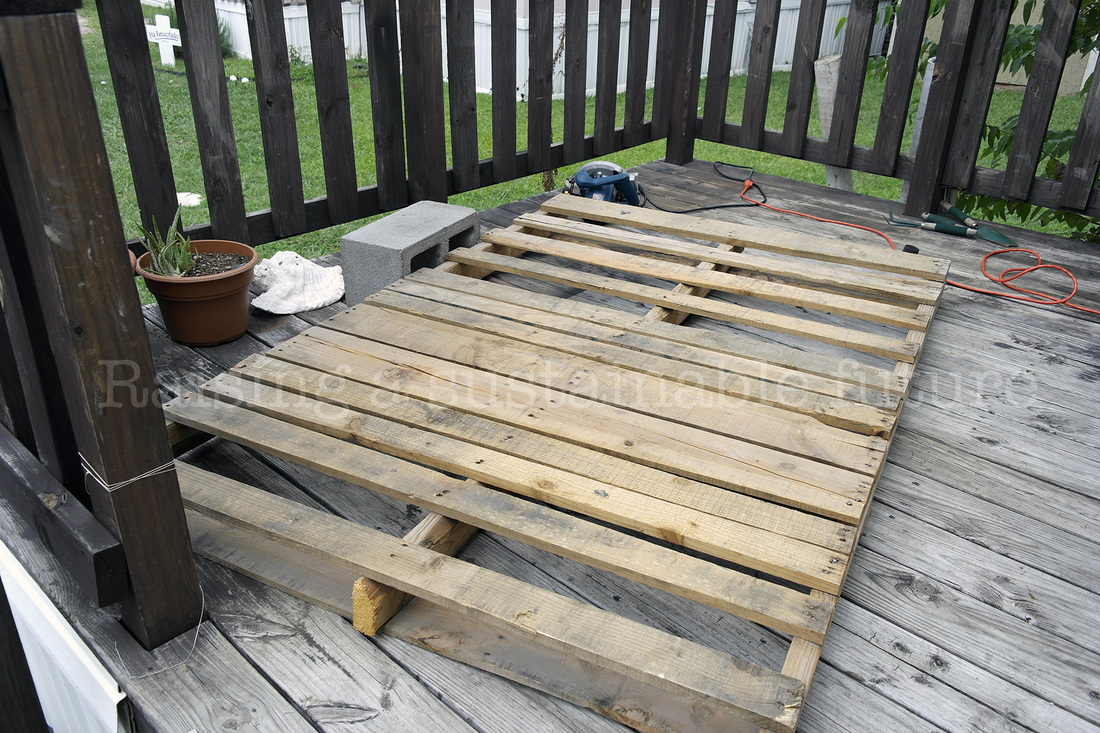 Here we have the pallet already cut in half, it was quick and easy thanks to our trusty circular saw. 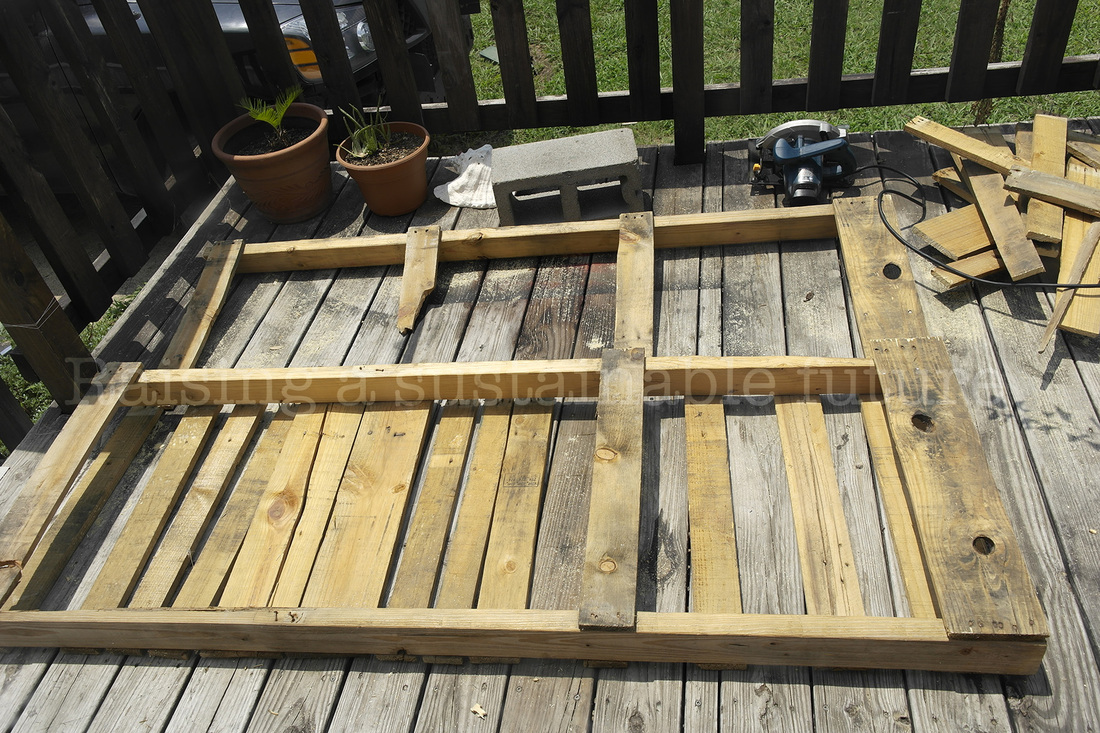 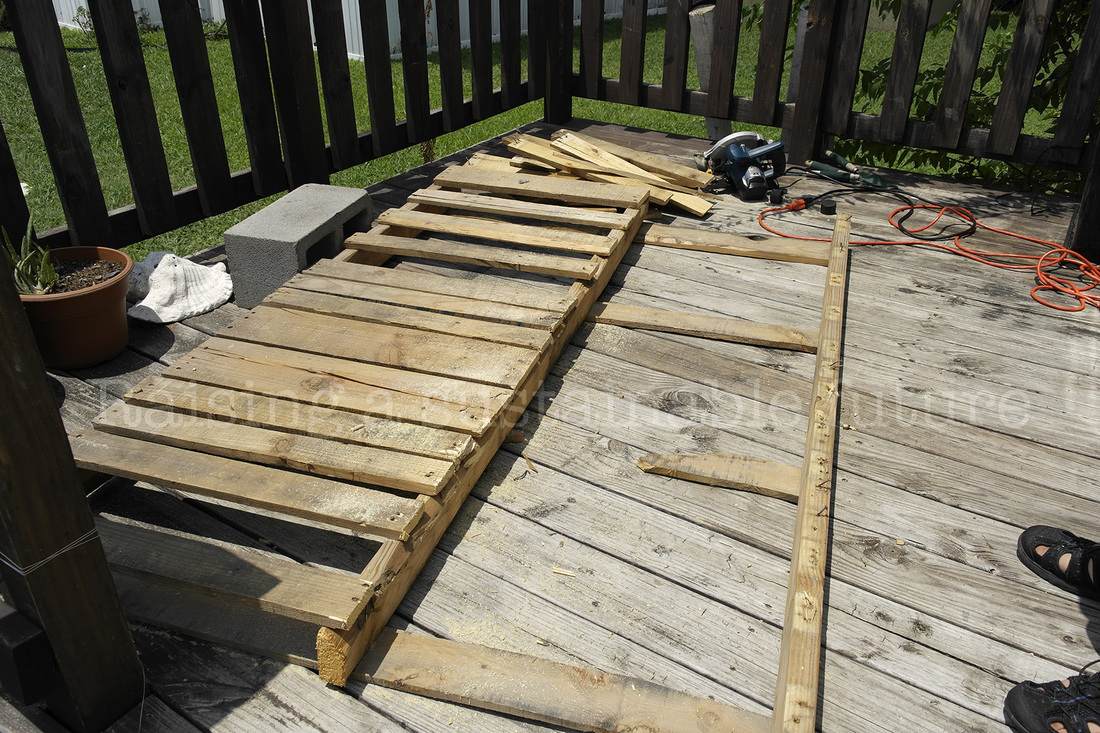 After cutting the pallet, we took it all inside our house, it was too hot and clammy of a day to be working outside. We pulled the remaining boards off of the pallet to reposition them and reused the nails that were already in the pallet that we were able to recover. Other pallets provided additional boards as needed. This is what the bottom looks like with all the boards aligned and completed. 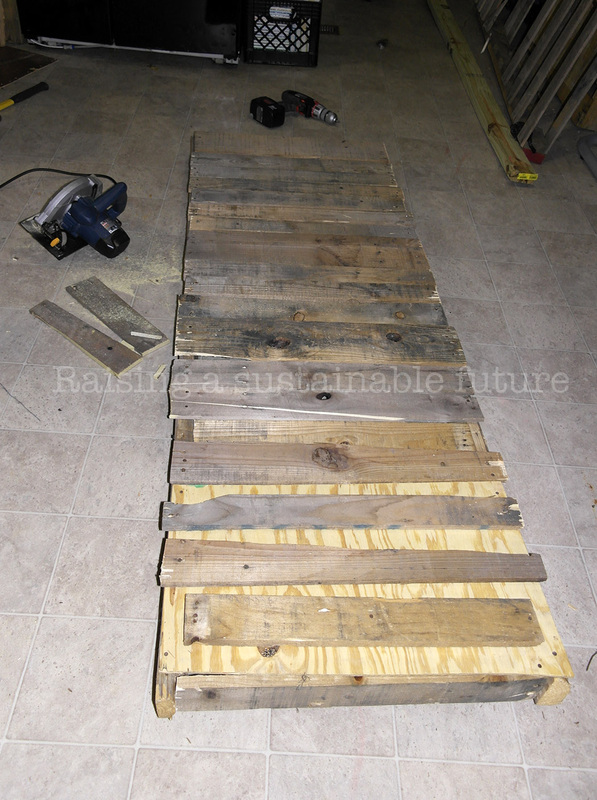 We decided to make it a double stack so that we would have plenty of depth in the garden, especially good for those plants that need a little deeper room to grow. To join the bottom frame to the top frame we screwed a few of the extra boards to both frames to act as a joiner and kinda give it a different look as seen below. This is after adding the joiners but before making any cuts to bring it down to size. 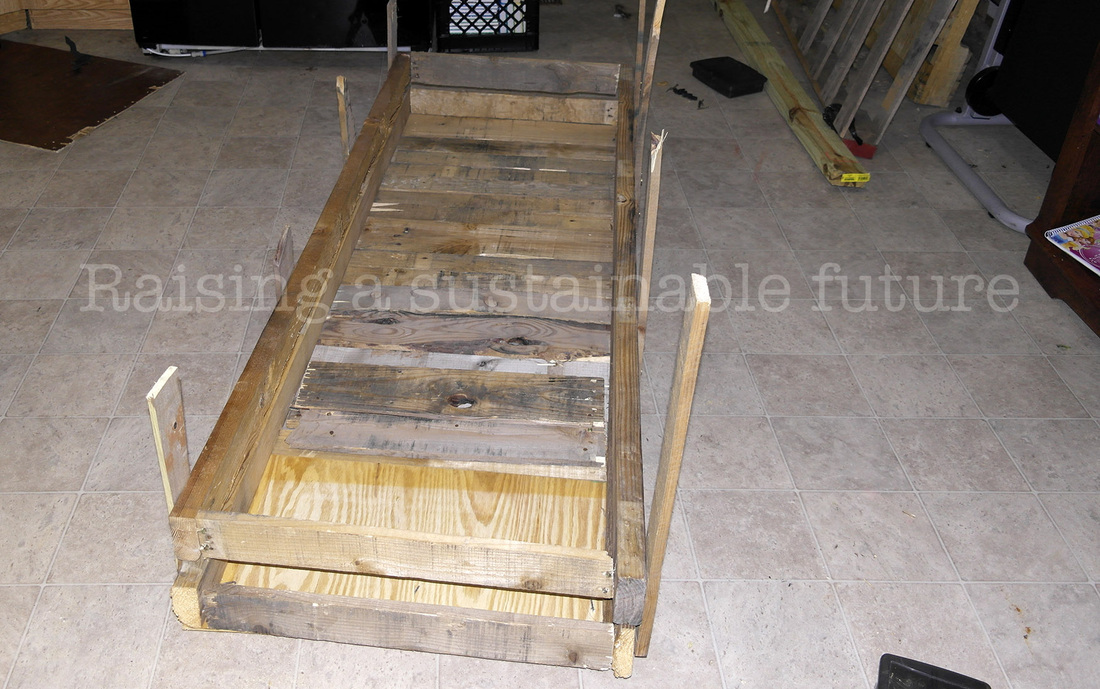 Here we have cut the joiners down to size and used a very large file to round ALL of the edges of the box, especially the corners since kids would be around them. Below we have the final product made 100% from wood sourced from the pallets, kinda looks like something straight out of the walking dead! 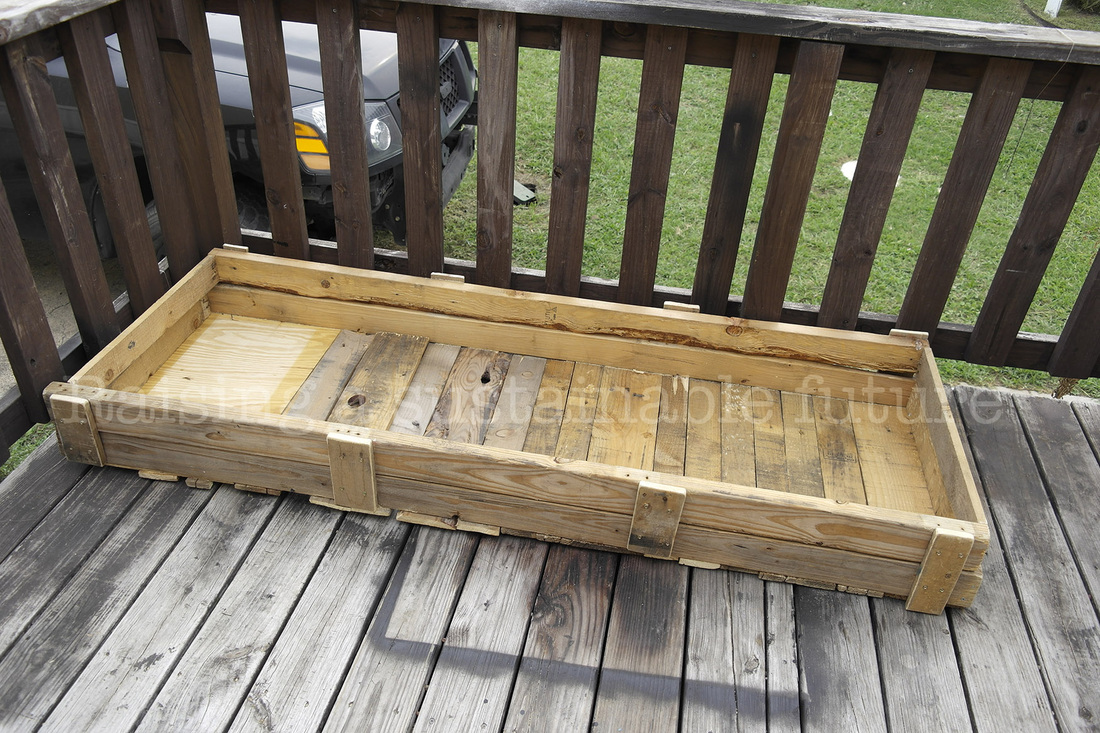 We picked up a few starters and 2 bags of organic potting mix to give our soil a boost. Its important to note that we missed a few images here. Before we made it to what you see below we had to do a few things. First we added a bunch of trash bags to the bottom of the inside of the box to act as a barrier to assist in keeping the dirt in. After the layer of bags we then added a few inches of dirt. Once we added a few inches we decided to add a layer of hay as it would act as a layer to keep in moisture in the bottom half of the garden. Finally once our layer of hay was in we added the rest of the organic potting mix hence the picture you see below.  Here is our crew of handy helpers taking a small break with our organic starter plants. 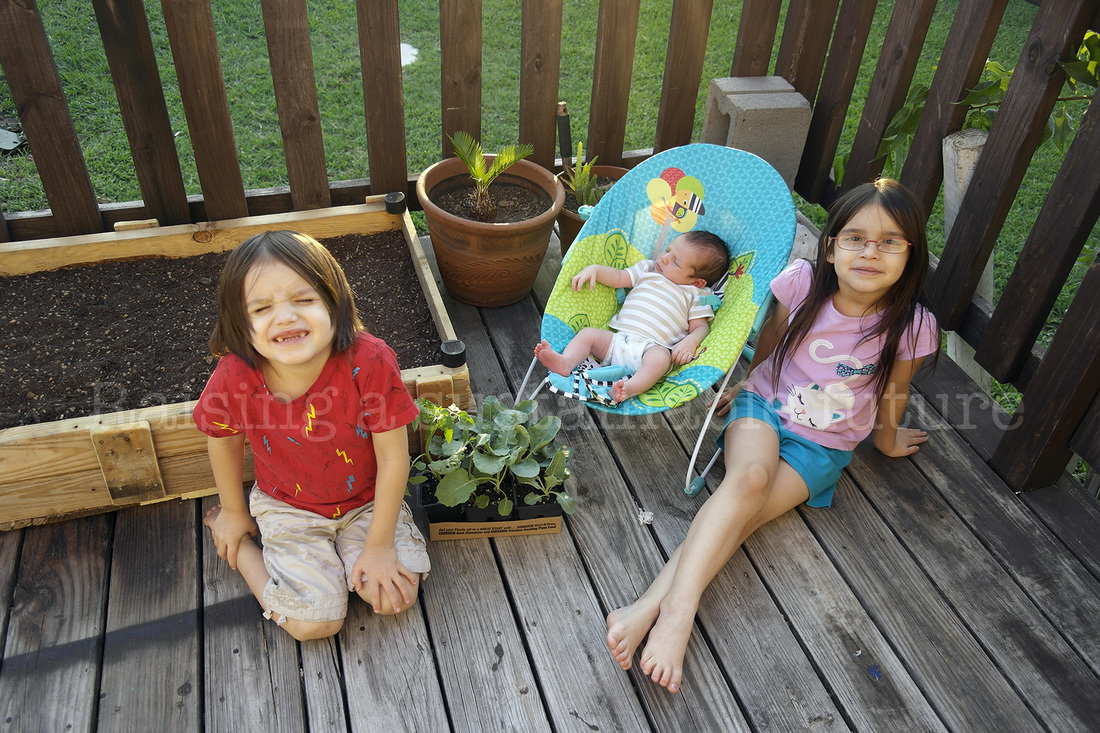 We decided on tomato, cauliflower (middle row) and broccoli (front row). *Edit* At the end of the cauliflower row you see below we ended up planting broccoli seeds as well as added to the broccoli row till about half of the box, then the other half was filled with lettuce seeds except for the back row which only had 3 more Tomato plants added and the back row will remain a tomato row only. 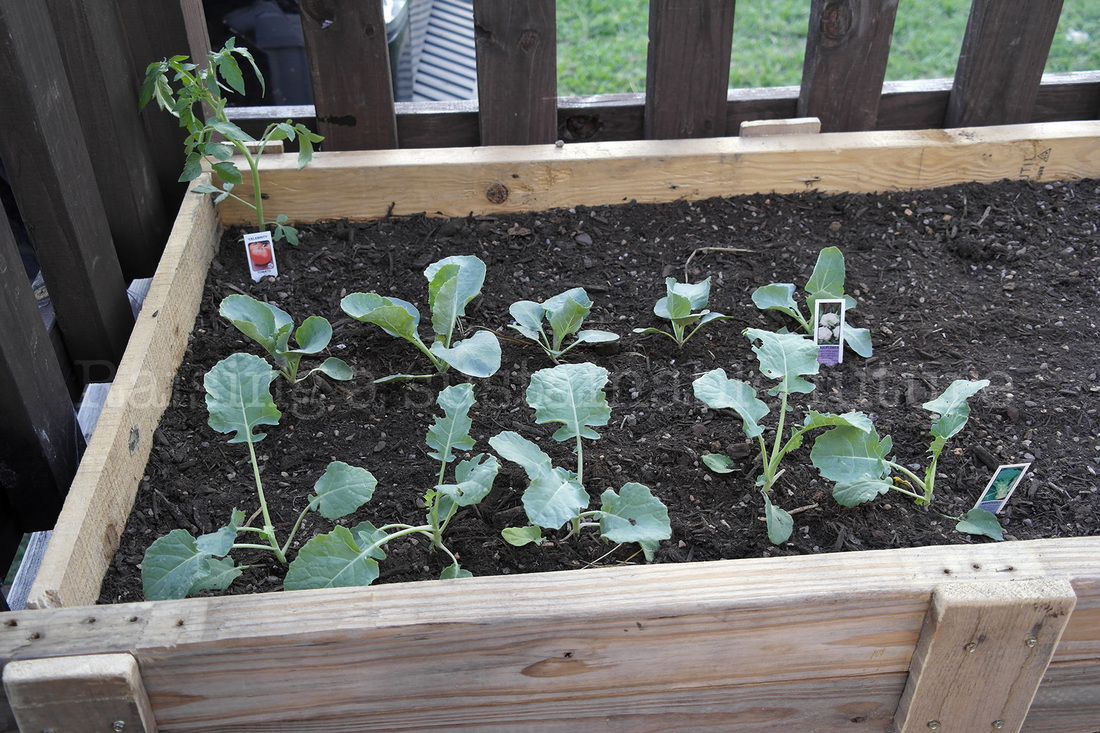 The kiddos were very excited and proud of the work that we accomplished here over the span of a few days. They just cant wait to eat everything they are growing! 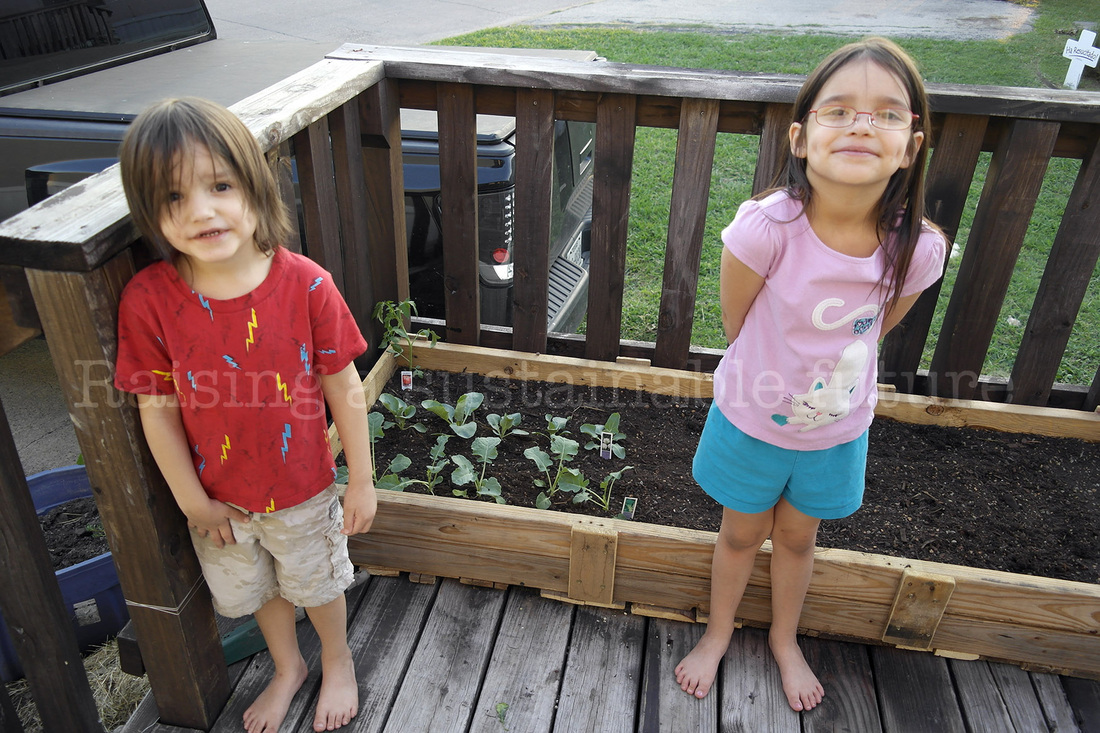 Well thats all we have for you on this part of the project, join us next time for the rest of the porch garden project. Till next time, keep raising a sustainable future!
| ArchivesCategories |
 RSS Feed